
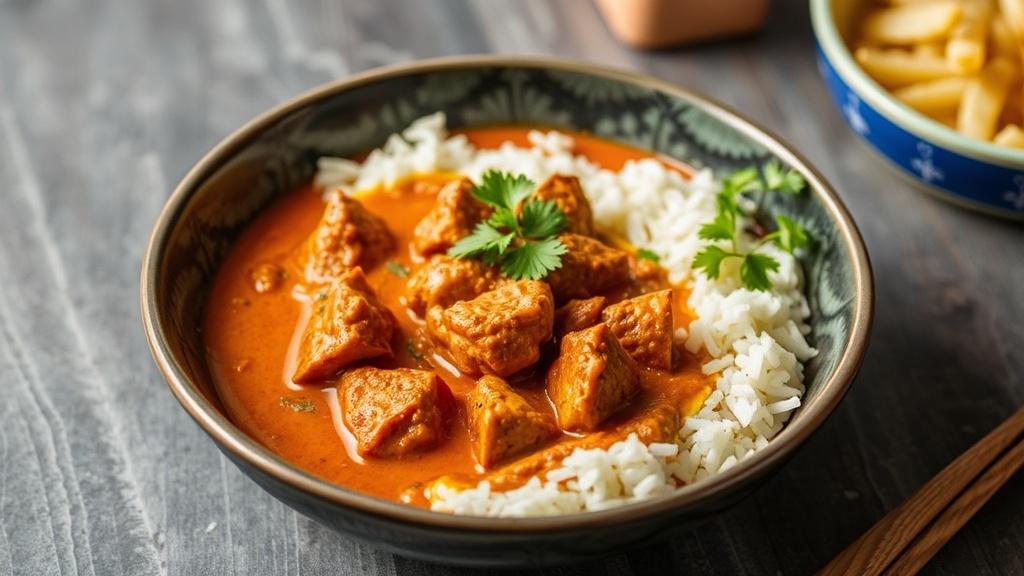
I remember the first time I tasted this dish: it arrived steaming, saffron-fragrant, and oddly elegant for something served from a deep earthen pot at a family gathering. The meat was melting, the sauce had a sheen of ghee, and every mouthful felt like a small revelation—rich, layered, and quietly precise. That moment stuck with me, and over the years I’ve chased that balance in my own kitchen, blending technique, attention to spice, and patient cooking.
where this dish comes from and why it matters
Tracing the exact origin of this style of braised meat leads through the culinary pathways of Central and South Asia, where Persian, Mughal, and regional subcontinental traditions mixed for centuries. The word itself has variants—korma, qorma—reflecting different dialects and script, but the core idea is consistent: meat cooked slowly with spices, often enriched with yogurt, nuts, or browned onions.
More than a recipe, this preparation is a cultural touchstone. It appears at weddings, during religious festivals, and at family tables where making a large pot is as much about feeding people as it is about sustaining relationships. The techniques traveled with merchants and courts, and each region adapted the basic template to local ingredients and tastes.
what exactly is it: defining the dish
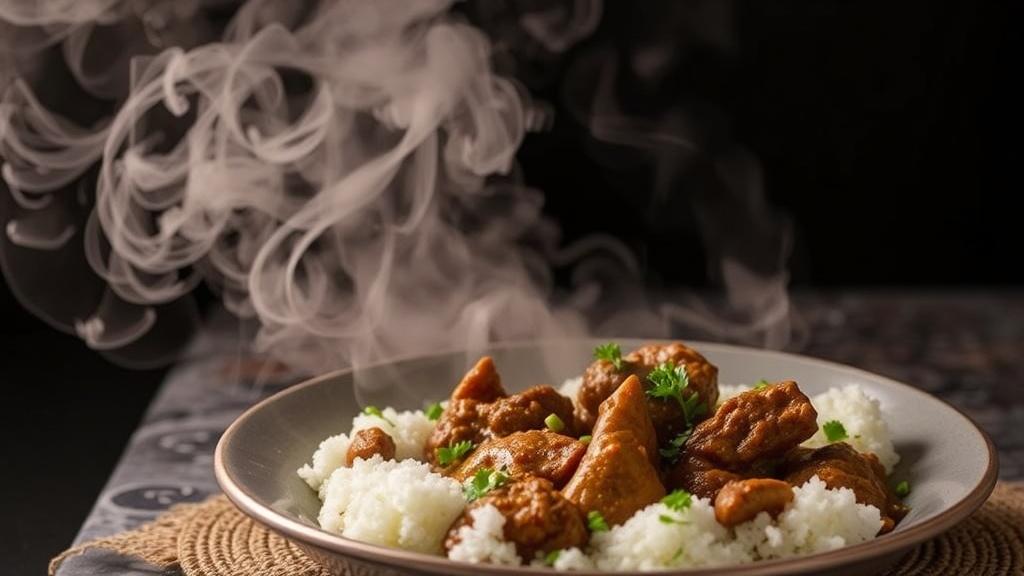
At its heart this is a braise: pieces of beef simmered gently in a spiced, aromatically infused liquid until tender. Typical enrichments include yogurt or cream, ground nuts like almonds or cashews, and slow-caramelized onions that give the sauce body and color. The texture ranges from a loose, stew-like curry to an almost velvet-smooth gravy, depending on technique and regional preference.
Unlike quick stir-fry or dry fried meat dishes, this preparation rewards time. The long, low simmer allows collagen to break down and sauces to thicken naturally, creating a deep flavor profile that a hurried method can’t replicate. It’s not simply about heat and ingredients; it’s about patience and layering.
essential ingredients and why they matter
Good results hinge on three ingredient groups: the meat, aromatics, and the fat or dairy that finishes the sauce. Choosing the right cut of beef makes the biggest difference. Chuck, brisket, or short rib are forgiving because of their connective tissue, which melts into gelatin during slow cooking.
Aromatics—onion, garlic, ginger—form the backbone of flavor. Whole spices like cardamom, cloves, and cinnamon provide top notes that lift the dish, while ground spices offer depth and warmth. Finally, yogurt, cream, or ground nuts add body and silkiness; without them the braise can be sharp and thin.
meat selection
I prefer chuck for its balance of muscle and fat; it becomes silky when cooked low and slow and doesn’t dry out the way leaner cuts can. If you need something more economical, beef shank or stew meat works fine, though you’ll want to adjust cooking time for bone-in pieces. For a more luxurious result, short ribs are unmatched, but they require a slightly longer simmer to yield the same tenderness across large pieces.
spices that define the profile
Whole spices lend brightness: green cardamom pods, bay leaves, black cardamom sometimes, cinnamon sticks, and a few cloves. Ground spices—coriander, cumin, turmeric, and a touch of chili—anchor the sauce. Aromatic finishing touches like dried fenugreek leaves or a squeeze of fresh lemon can elevate the final plate.
Professional cooks often temper the spice additions over time: whole spices early in the cook to infuse oil, then ground spices mid-cook so they bloom without scorching, and finishing spices at the end to add aroma. This layering prevents a flat seasoning profile and keeps each spice audible yet restrained.
preparing aromatics and the foundation of flavor
Where many home cooks trip is in under-developing the base. Onions deserve more attention than simply being translucent. Browning them slowly creates sweetness and a natural thickener when they collapse; this contributes to both color and mouthfeel. I aim for a deep golden-brown rather than a swift sautéed look.
Crushing or pounding garlic and ginger together makes a paste that integrates more thoroughly than small diced pieces. Some cuisines prefer whole garlic cloves for a milder note, but a paste will give a consistent flavor that carries through the sauce. Toasting ground spices briefly in hot oil—known as blooming—releases essential oils and prevents a raw, powdery taste.
classic stovetop method: a step-by-step approach
Stovetop braising is the most traditional method and gives you the most tactile control over every stage of the cook. You can adjust heat, watch the sauce, and temper spices as you go. It suits cooks who enjoy the rhythms of stirring and tasting.
Below is a streamlined sequence I use frequently. The steps are flexible—adapt times based on your cut of meat—but the order preserves the building blocks of flavor.
- Brown the meat in batches to develop Maillard crusts, then remove and set aside.
- Sauté onions slowly until deep golden; add garlic-ginger paste and toast briefly.
- Return meat to the pot, add whole and ground spices, and deglaze with water, stock, or a little wine if desired.
- Simmer gently, partially covered, until the meat is fork-tender. Finish with yogurt or ground nuts and adjust seasoning.
Take time when browning meat: a good sear won’t seal in juices as some myths claim, but it will add flavor through caramelized proteins. Do this in batches so the pan temperature stays high; overcrowding leads to steaming rather than browning. After browning, use the fond—the caramelized bits on the bottom—to deepen your sauce by deglazing with a splash of liquid and scraping the pan.
timing and temperature control
Braising temperatures are low compared to a sauté: you want a gentle simmer, not a rolling boil. High heat tightens fibers and can toughen meat. Aim for a simmer where small bubbles occasionally rise to the surface and the aroma lightens the kitchen without producing heavy steam.
Cooking time varies by cut and size: small cubes of chuck might soften in 1.5–2 hours, while larger bone-in pieces can take 3 hours or more. The test is tactile—probe the meat with a fork. When it comes away easily and the connective tissue feels dissolved, you’re done.
pressure-cooker and Instant Pot shortcut
Modern pressure-cooking shrinks hours into an hour without sacrificing tenderness. It’s a practical method when weekday schedules won’t allow long simmering but you still want depth of flavor. The trade-off is slightly less opportunity for slow caramelization and evaporation, so techniques must adjust.
To compensate, brown meat and onions thoroughly in the cooker’s sauté mode before sealing the lid. Use a little less liquid than you might for a slow braise—pressure traps steam, so sauces can end up more dilute if overwatered. Release pressure naturally for 10–15 minutes to avoid spattering and to let flavors settle.
timing guidelines for pressure-cooked beef
For cubed chuck, 35–45 minutes under high pressure usually yields tender results. Larger bone-in cuts may need 45–50 minutes. If the meat is still resistant when you open the lid, reseal and add another 10–15 minutes rather than boiling it afterward; continued high heat can overcook the outer edges while the center softens.
slow cooker and oven-braise techniques
Slow cookers and oven braises deliver consistent low heat and are ideal for hands-off cooking. An oven set to 300–325°F gives a dry, even heat that develops flavors differently than the moist environment of a slow cooker. Both are excellent for feeding a crowd and for overnight gentle cooking.
When using a slow cooker, take the time to brown meat and onions on the stovetop first. Finish the dish by reducing the sauce on the stove if it appears too thin. In the oven, use a heavy Dutch oven with a tight-fitting lid; the sealed environment concentrates flavors and creates a glossy finish.
regional variations and adaptations
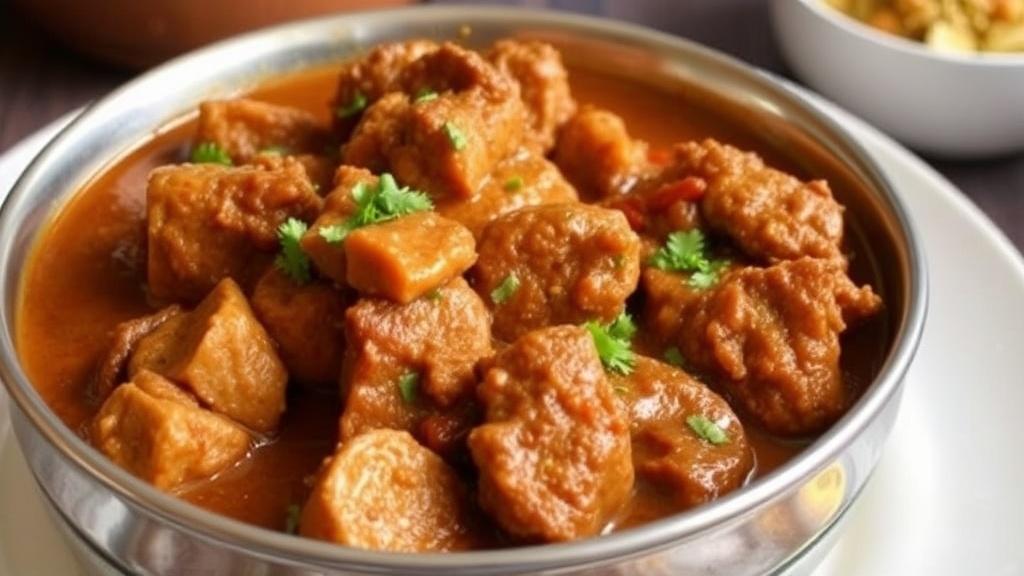
Across regions, this preparation adapts to local palates. In some parts of South Asia, you’ll find more liberal use of yogurt and nuts; elsewhere, coconut milk or tamarind can appear, especially in coastal areas. Some cooks like a tomato-forward sauce, while others lean into cream and butter for a richer mouthfeel.
On the spice spectrum, northern traditions often favor aromatic whole spices and a heavier hand with ghee, while southern versions might include chilies and curry leaves. These differences showcase how a single method can produce a range of dishes, each with distinct personality.
examples of regional twists
Hyderabadi-style adaptations tend to be more aromatic and may include ground nuts and saffron for a regal finish. A Punjabi take often emphasizes browned onions and ghee for a deeper color and savory base. Coastal recipes near the Arabian Sea might replace dairy with coconut for a lighter, tropical undertone.
pairings: what to serve with the dish
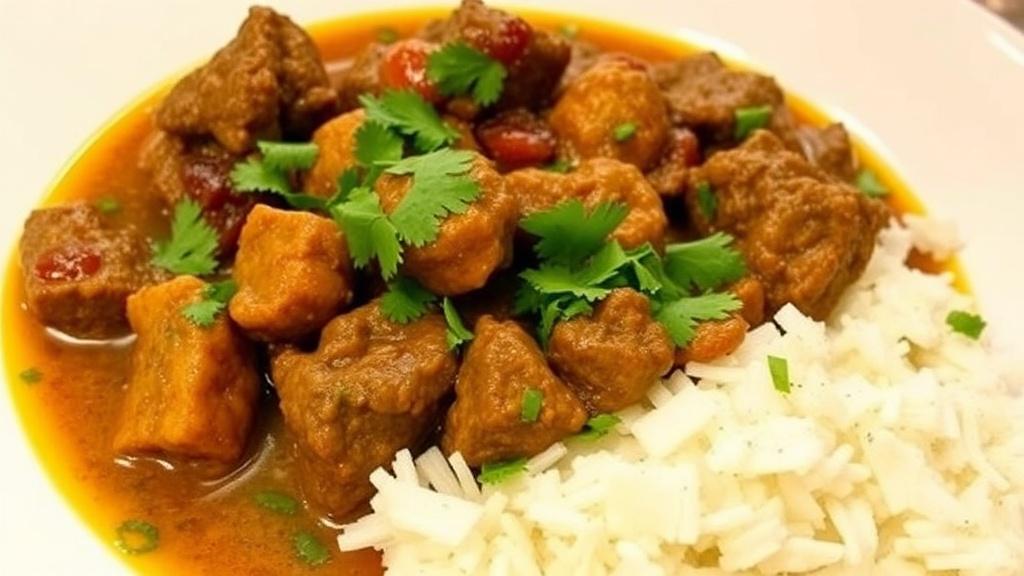
This braise pairs beautifully with neutral carriers that can carry sauce: basmati rice, layered flatbreads, or lightly salted boiled potatoes. For celebrations, fragrant saffron rice or a pilaf studded with nuts and raisins elevates the plate. For everyday meals, plain rice or warm naan are more than sufficient.
Light, crisp salads contrast the richness well. A cucumber-yogurt raita, sliced onions with lemon, or a bright green salad with herbs and a tart vinaigrette cuts through the fat and refreshes the palate between bites. Pickles and chutneys provide acidity and textural contrast.
spice table for household scaling
Below is a practical guideline for spice quantities across three serving sizes. These are starting points—adjust based on your spice palate and the potency of your ingredients.
| Ingredient | Small (4 servings) | Medium (8 servings) | Large (12–16 servings) |
|---|---|---|---|
| Beef (chuck), lbs | 2 | 4 | 8 |
| Onions, cups (thinly sliced) | 2 | 4 | 8 |
| Garlic-ginger paste, tbsp | 2 | 4 | 8 |
| Yogurt or cream, cups | 1 | 2 | 3–4 |
| Ground coriander, tsp | 2 | 4 | 6 |
| Ground cumin, tsp | 1.5 | 3 | 4.5 |
| Turmeric, tsp | 0.5 | 1 | 1.5 |
| Whole cardamom pods | 4–6 | 8–10 | 12–16 |
| Cloves | 3–4 | 5–7 | 8–10 |
| Cinnamon sticks | 1 | 2 | 3 |
common mistakes and troubleshooting
A frequent error is rushing the onion stage. If you skip proper browning, the sauce can taste thin or overly sharp. Onions need time and a bit of patience; their natural sugars are what build the backbone of the dish.
Another misstep is adding dairy too early. Yogurt or cream can split if exposed to long, high heat, leaving an oily or curdled finish. Temper dairy by whisking a small amount of hot sauce into it before stirring it into the pot, or add it near the end and keep the heat low.
fixes for a thin or flat sauce
If the finished sauce is thin, reduce it uncovered on medium heat, skimming excess fat if needed and stirring gently to prevent sticking. For flat flavor, boost brightness with acid—lemon juice, tamarind, or a spoonful of plain yogurt—and add a fresh garnish like chopped cilantro to introduce herbal freshness.
make-ahead, storage, and reheating
One of the beauties of this braise is how well it keeps. Flavors deepen overnight in the refrigerator, making it an ideal make-ahead dish for entertaining. When cooled, transfer to airtight containers and refrigerate for up to four days or freeze for three months.
Reheat gently over low heat with a splash of water or stock to loosen the sauce. If frozen, thaw overnight in the refrigerator before reheating. Avoid microwaving at high power from frozen; you’ll lose nuance and risk uneven heating.
nutrition, dietary notes, and substitutions
This preparation is rich in protein and typically moderate to high in fat depending on cut and finishing choices. You can control calories by trimming excess fat, using low-fat yogurt instead of cream, or incorporating more vegetables into the pot for bulk without many extra calories.
Nut allergies are common; substitute ground oats or breadcrumbs for nut-thickened sauces, or rely solely on reduced, caramelized onions for body. For a gluten-conscious version, ensure any stock or seasoning blends are certified gluten-free.
pairing beverages and accompaniments
Richer, saffron-tinged versions pair well with full-bodied red wines—think Syrah or a plush Zinfandel—that can stand up to savory spices. Lighter takes with more yogurt and citrus are lovely with a crisp lager or a citrusy white like Sauvignon Blanc. Nonalcoholic options include spiced iced tea or a cooling lassi.
For sides, basmati rice and flatbreads are the classics. Consider serving a simple cucumber and mint salad or a sharp mango chutney to offset the braise’s creaminess. Small plates of roasted vegetables also add color and nutrition.
scaling up for a crowd and serving suggestions
When feeding a large number of people, use a heavy, wide pot or a commercial-grade slow cooker so heat distributes evenly. Brown meat in multiple pans to maintain searing temperature; crowding the pan will make the meat steam and yield a less flavorful base. Plan on about 1/2 pound of meat per adult if you’re serving several sides, more if the braise is the main attraction.
Serve the braise family-style in a large warmed dish so guests can spoon sauce generously. Offer a selection of condiments—pickled onions, lemon wedges, fresh herbs—so diners can tweak each bite. For formal events, spoon the meat over individual beds of saffron rice and garnish with slivered toasted nuts for a visual lift.
personal notes and a compact recipe to try
Over the years I’ve developed a version that balances accessibility with authenticity. I often make it for Sunday supper: I brown the meat on Saturday, let it rest overnight, then reheat and finish the sauce on Sunday so the flavors are knit together and the house smells like a celebration. Guests always ask for seconds.
Here’s a compact recipe you can try that fits into a weekday schedule with a little planning and yields a richly flavored result without exotic ingredients.
- 2 lbs chuck, cut into 1.5-inch pieces
- 2 large onions, thinly sliced
- 2 tbsp garlic-ginger paste
- 1 cup plain yogurt, whisked
- 2 tsp ground coriander, 1 tsp ground cumin, 1/2 tsp turmeric
- 4 cardamom pods, 2 cloves, 1 cinnamon stick
- Salt and freshly ground pepper to taste; 2 tbsp ghee or oil
Brown the beef in batches in a heavy pot with ghee, remove, and set aside. Slow-caramelize the onions in the same pot until deep golden, then add the garlic-ginger paste and toast briefly. Return beef to pot, add whole spices and ground spices, and deglaze with 1 cup of water or stock, scraping the bottom. Simmer gently, covered, for 1.5–2 hours until tender. Whisk in yogurt gradually over low heat, adjust salt, and finish with a squeeze of lemon.
Garnish with cilantro and toasted slivered almonds for texture. Serve over steamed basmati rice or with warm flatbreads. Leftovers are even better the next day, so plan accordingly.
final thoughts on technique and enjoying the process
What makes this preparation special isn’t a single ingredient; it’s the deliberate sequence of choices: browning, slow simmering, tempering dairy, and finishing with fresh acid or herbs. The rhythm of these steps rewards patience with a bowl that feels layered and complete. Cooking it has become a way I mark time with friends and family, a ritual that signals care.
Approach it with curiosity rather than strict rules. Try different cuts, experiment with spice ratios, and watch how small changes—an extra minute browning onions or a different nut used for thickening—shift the result. Over time you’ll develop your own version, one that tastes like your kitchen and the people you feed. Enjoy the process and the shared plates that follow.

